

Plan your reef network needs
Before assembling any hardware, you need to define what your PC reef system actually does. A fully automated reef tank requires constant, low-latency communication between your computer and various controllers. Unlike a standard home computer that just needs to load web pages, your reef PC is the command center for life-support systems. It must reliably send commands to dosing pumps, adjust lighting schedules, and monitor salinity levels without interruption.
The first step in planning is distinguishing between general internet access and specific device pairing. Your WiFi connection handles the heavy lifting of data retrieval: pulling weather forecasts for automatic lighting adjustments, syncing data to cloud dashboards, and allowing remote monitoring via smartphone apps. This bandwidth is flexible and can tolerate minor latency spikes. However, Bluetooth connections serve a different purpose. They are typically used for direct, short-range communication with specific peripherals like temperature probes, pH sensors, or local controllers.
Bluetooth requires a stable, low-latency link to ensure real-time safety responses. If your PC loses connection to a temperature sensor, you might miss a critical spike in water heat. WiFi is less suitable for these direct hardware controls because it is designed for packet-switched data rather than continuous, low-power device pairing. Therefore, your network plan should prioritize a dedicated Bluetooth adapter with strong range and stability, separate from your main WiFi network.
In a humid environment like a reef room, network stability is also a physical challenge. Moisture can interfere with wireless signals, particularly Bluetooth, which operates on the 2.4 GHz band—the same frequency used by many other household devices. To prevent interference, plan your network topology carefully. Keep your PC’s Bluetooth antenna away from large metal surfaces or other high-interference electronics. Consider using a USB Bluetooth dongle with an external antenna cable to position the receiver optimally, away from the noisy interior of your PC case and closer to the aquarium equipment.
By clearly separating your WiFi and Bluetooth roles, you create a resilient system. WiFi handles the data; Bluetooth handles the immediate, life-critical commands. This separation ensures that a slow internet connection won’t delay a pump dosing event, and a Bluetooth glitch won’t crash your entire network.
Choose the right Bluetooth adapter
Your reef controller is only as reliable as the connection it uses to talk to your computer. Most modern controllers rely on Bluetooth 5.0 or higher, specifically leveraging Bluetooth Low Energy (BLE) or standard HID protocols for stable, low-latency data streaming. In a humid marine environment, signal interference and physical durability are just as important as raw speed.
When selecting a USB Bluetooth adapter, prioritize devices that explicitly support the Bluetooth 5.0 specification or newer. Older Bluetooth 4.0 adapters often struggle with the sustained data throughput required for real-time water parameter logging and may drop connections during heavy system load. Look for adapters labeled as "Bluetooth 5.0+" or "Bluetooth 5.2/5.3" to ensure compatibility with the latest controller firmware.
Physical build quality matters significantly for aquarium setups. Since the PC will likely reside near the tank, the adapter should be able to withstand higher ambient humidity without corroding. A compact, metal-cased dongle with a short USB-A connector is often preferable to a large, plastic antenna-heavy model that might block adjacent ports or accumulate dust and salt spray.
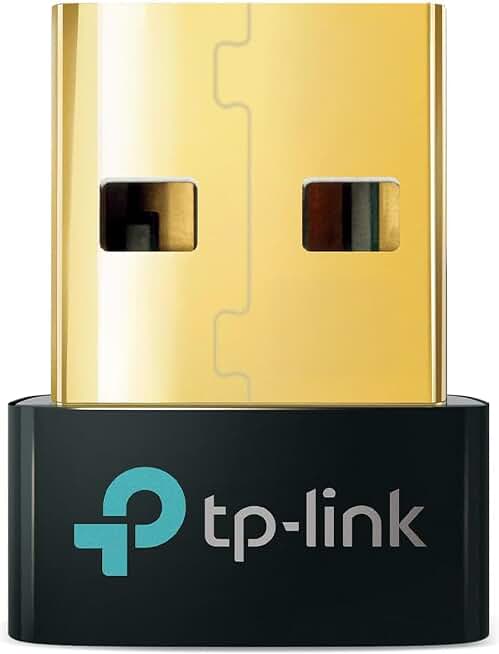
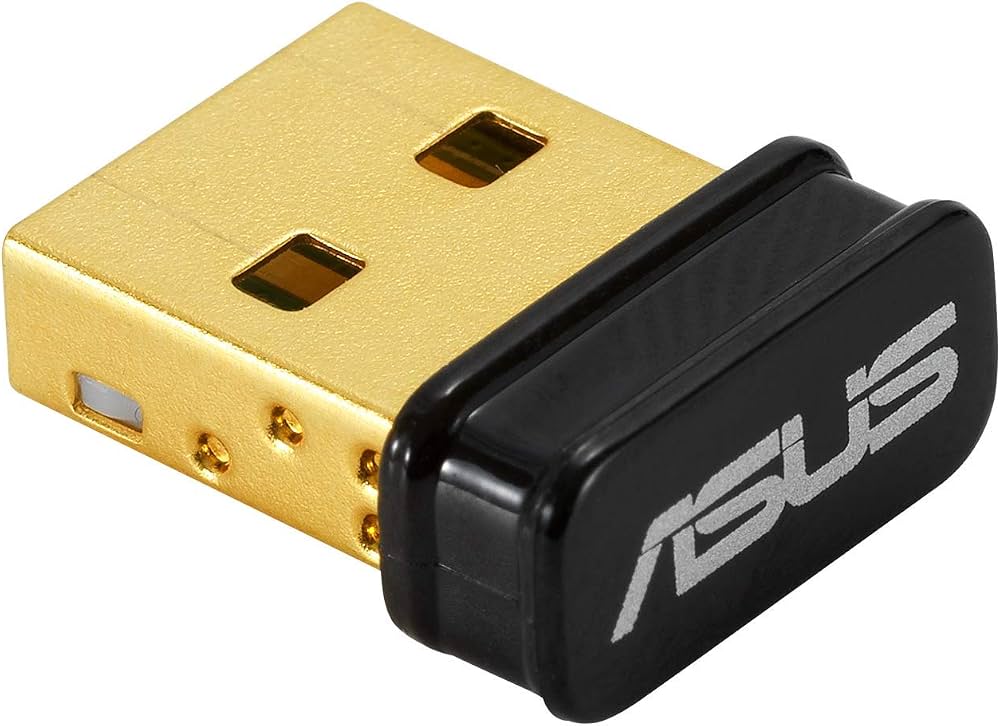
Below are three widely supported Bluetooth adapters that balance driver compatibility with Windows and macOS, ensuring stable communication with your reef controller.

As an Amazon Associate, we may earn from qualifying purchases.
Select a stable WiFi card
A cloud-based reef monitoring system is only as reliable as its connection to the cloud. In a humid, salt-laden environment, signal drops can mean missed alarms for skimmers failing or temperature spikes going unnoticed. Choosing the right internal WiFi card ensures your PC maintains a steady link to your automation hub, whether you are running Home Assistant, Node-RED, or a dedicated aquarium management platform.
Prioritize dual-band support (2.4 GHz and 5 GHz). The 2.4 GHz band offers better range and wall penetration, which is useful if your PC is tucked behind a heavy aquarium stand or far from the router. However, it is often congested in residential areas. The 5 GHz band provides faster data rates and less interference but has shorter range. If your router is nearby, 5 GHz is generally more stable for real-time sensor data transmission.
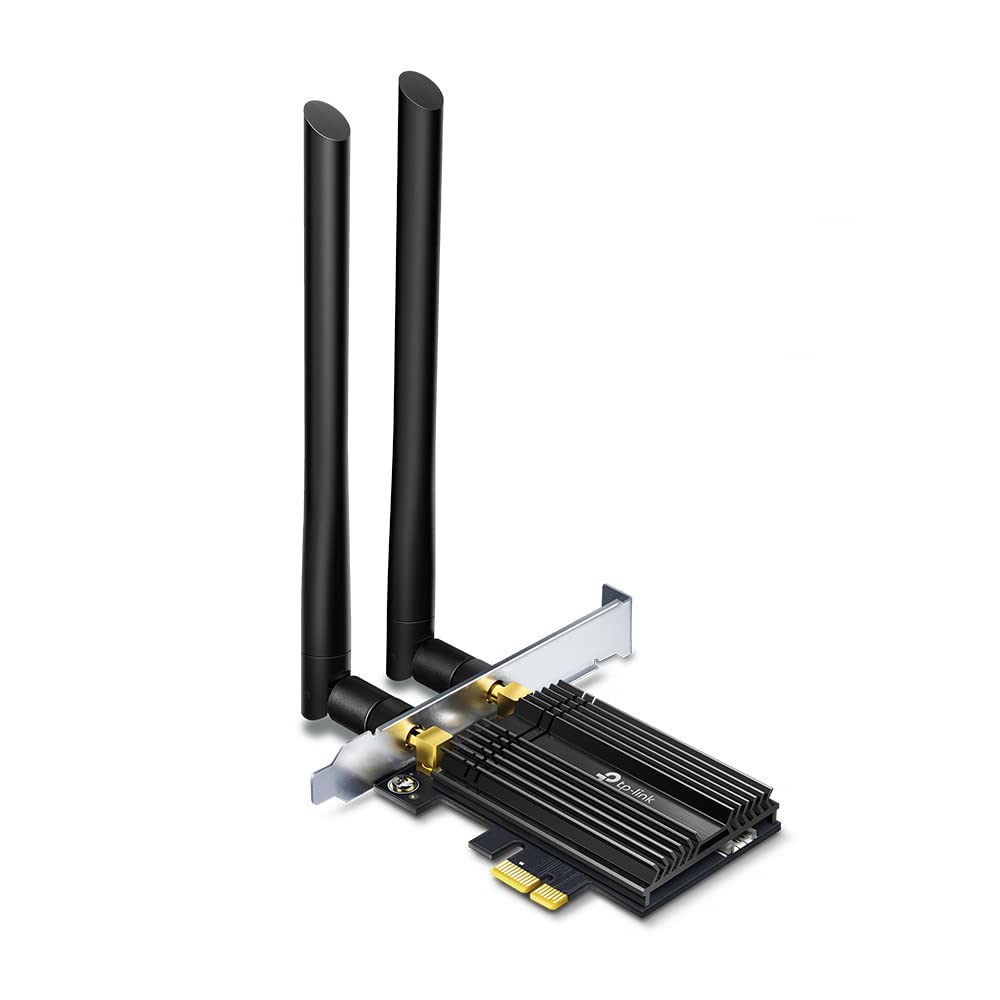
Antenna placement is critical. Internal cards often come with external antennas that screw into the back of the PC case. Position these antennas vertically and away from metal surfaces, which can block signals. Avoid placing the PC directly next to large power supplies or high-voltage components, as electromagnetic interference can degrade signal quality. For the most robust setup, consider cards with detachable antennas, allowing you to route them outside the case or position them for optimal line-of-sight to your router.
When shopping, look for cards that support modern WiFi standards like WiFi 6 (802.11ax) for improved efficiency in crowded networks. Ensure the card has good driver support for your operating system to minimize background CPU usage and potential conflicts with your monitoring software.



As an Amazon Associate, we may earn from qualifying purchases.
Install the hardware safely
Before you touch any components, treat your workspace like a sterile zone. The primary risk isn't just electrical shock—it's moisture intrusion into sensitive electronics. Even in a dry room, the proximity of the PC to the reef tank means condensation and splashes are constant threats. Start by powering down the computer completely and unplugging the power supply from the wall. If your PC has a physical switch on the back of the power supply, flip it to "off." This ensures no residual current flows through the motherboard while you work.
Next, open the case side panel. If you are building a custom rig with tempered glass, be mindful of the pressure points; glass panels can shatter if twisted incorrectly. Once open, ground yourself by touching an unpainted metal part of the chassis or wearing an anti-static wrist strap. Static discharge is invisible but can instantly kill the WiFi card or Bluetooth adapter you are about to install. Keep your tools organized and away from any potential water sources, even if they are just a damp rag used for cleaning dust.
With the hardware installed, your PC is now physically ready to connect to your reef ecosystem. The next step is configuring the software drivers to ensure stable communication with your controllers. Proper installation now prevents connectivity drops later, which is the most common failure point in automated reefing setups.
Test your reef connectivity
Before leaving the build phase, verify that your monitoring software maintains a stable connection to the tank controllers. Humidity and salt spray can degrade wireless signals over time, so a quick stress test now prevents data blackouts later.
Start by confirming the WiFi link. Open your monitoring app and check the signal strength indicator. If you see intermittent dropouts, move the router closer or add a range extender. Next, pair your Bluetooth devices. Ensure the app detects the sensors immediately upon opening.
Run a continuous log for at least thirty minutes. Watch for latency spikes that might delay alarm notifications. If the connection holds steady, your reef ecosystem is ready for autonomous monitoring.
-
WiFi signal strong and stable
-
Bluetooth paired with all sensors
-
App responsive with no lag
-
No latency spikes during 30-min test
FAQ about PC reef hardware
Is Bluetooth safe in a humid tank room?
Bluetooth uses low-power radio waves that don't heat up or spark, making it safe for the high humidity of a reef room. However, salt air can corrode exposed contacts on cheap receivers. Stick to sealed modules or keep the Bluetooth dongle outside the splash zone to ensure long-term reliability.
Will WiFi interfere with marine sensors?
Standard 2.4GHz WiFi rarely interferes with reef controllers, which often use their own proprietary RF protocols. If you notice signal drops, switch your router to the 5GHz band or move the controller away from the router. Most modern PC reef setups handle both connections without conflict.
How do I maintain hardware in salt air?
Salt spray is the enemy of PC components. Seal cable grommets, use conformal coating on exposed circuit boards, and wipe down external ports weekly with isopropyl alcohol. Keeping the PC case slightly pressurized with positive airflow helps keep corrosive particles out of the internals.
No comments yet. Be the first to share your thoughts!